
Well folks… here I am again… This time, it’s the 72037 Mario Kart set (1972pcs). I do not profess to be a Mario Fan… I never had a Nintendo as a boy, and the whole ‘Platform Game’ genre was never my thing - although I must confess - in my early 20’s, I spent many a long session at my friends house competing against him on the SNES with the Original Mario Kart… what I have noticed - is on the box it’s described as ‘Mario & Standard Kart’? Standard? Eh? Can anyone enlighten me on this? Is this some sort of secret Lego code for ‘We are going to release a different version’? Why use the word ‘Standard’? Answers on a postcard - if they still makes those today!
Anyway…. Upon opening the ‘Probably much larger than it needs to be’ box, we are presented with 17 bags, the loose tyres/wheels and the manual. As usual though, I will be using the online builders app.
I like to open the bags one by one and separate the pieces onto 3 or 4 plastic trays by type - in this case brick/brackets, plate, smooth/tiles & small clips/plates/brackets - just makes for an easier build - I could NEVER do that thing they call ‘Knolling’ - OMG 😳 - look it up 😂
So, on with the build…
Bag 1.
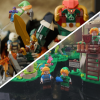
Nothing much to report here, just the usual joining of Technic frames to give a nice solid base structure - plus what I assume to be the bottom parts of the side pods. Very simple, all done in 15 easy minutes (including a coffee 😂)
Bag 2.
Pouring out the contents of bag 2 into my little trays, I immediately notice quite a few Technic parts that are familiar to me - Liftarms, axles, frictionless pins etc.... So right away, I know that this bag will have me putting the steering onto the main chassis - nothing too difficult, even for a Technic 1st timer, and again, this bag was over in approx 20min.
Bag 3.
Well… this won’t take long - bag 3 doesn’t have many parts at all - basically it has you putting together the basic ‘foot pedals’ (Stop/Go) and also what I assume at this stage to be the mounting for the engine, we have a little stud reversal going on behind the seat… not sure why just yet, but I’ll sure it will all become apparent soon... Just 15min taken and I’m onto bag 4...
Bag 4.
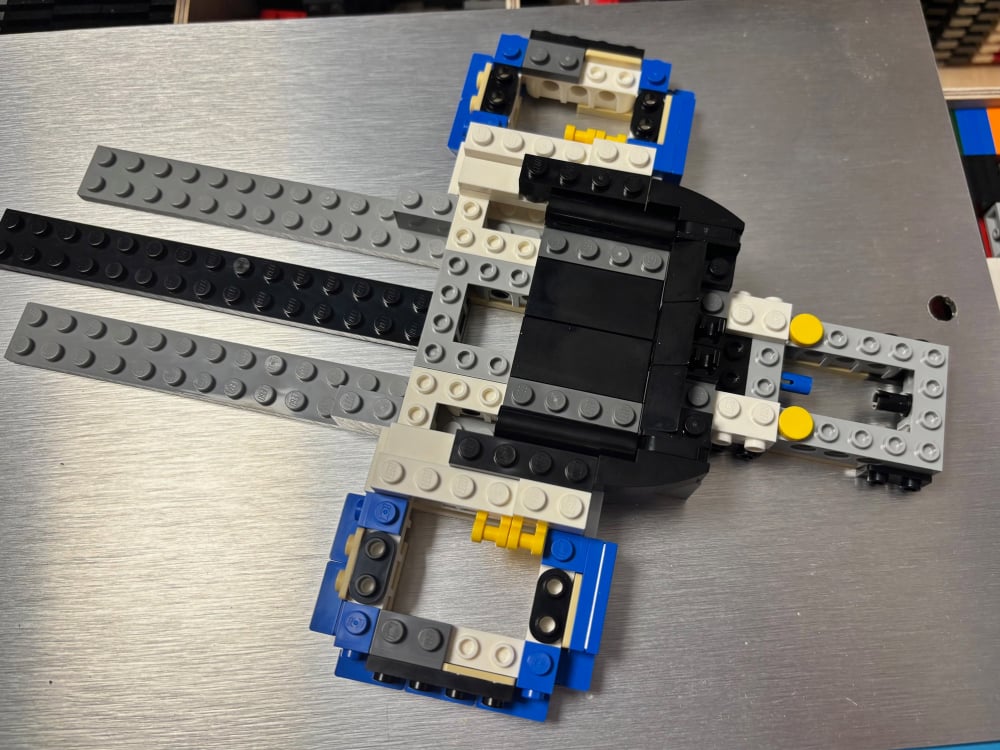
Another small bag with a smaller qty of parts than expected. This time, your 20min is spent building the rear axle of the kart (whilst covering over the complex stud reversal part!?) - no idea what that was all about as it certainly wasn’t needed, so I assume it all about using different techniques to achieve results. Axle is now securely in place and we move onto bag 5.
Bag 5.
Now we’re talking - this is where the set stats to come to life with more bright colours in the form of the big yellow tipped ‘Thrusters’ on the engine. However this does raise a question for me. They have printed 2 of the thruster parts with a small yellow ‘stripe’? Normally, that would be done with decals at this price level - I can’t see what benefit to Lego there is for printing those on as what else could they be used for? Yet there are some models at price points much higher than this, with NO printed parts? (Eg the new EC500 excavator - the Volvo logo is decals - at £350! however if they had printed that onto a tile, it could be used again and again on future Volvo models) - this seems a strange decision - we’ll see how many more printed parts as we progress - Again, only 20min on this bag. Onwards…
Bag 6.
This bag is all about the side pods. Rather than just add layers and top off with tiles like most would, Lego have chosen to show off some more great techniques here. Lots of SNOT building and using clips/reverse stud methods to achieve certain angles - there are much simpler ways, but this for me is what Lego is all about - teaching as you go - always trying to show that there are multiple ways to achieve the same result. Bag time of 25mins bringing the total so far to 1hr 55mins - all of which were enjoyable.
Bag 7.
The Kart is really coming together now and this bag is all about the steering mount/front bodywork. Some great use of parts in this that for a while, had me wondering why certain parts were used - but then it all became clear - some ingenious methods to ensure that the final model will be pretty sturdy - I certainly can’t see the front coming off easily! Only 10min on this bag.
Bag 8.
This one has you tidying up the front end - adding the front corner trims, the whole of the lower front bumper, and ends with the top finishing parts to make it all look smooth. A little SNOT work again, but some clever use of hinge bricks to provide the necessary angles. 15mins...
Bag 9.
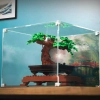
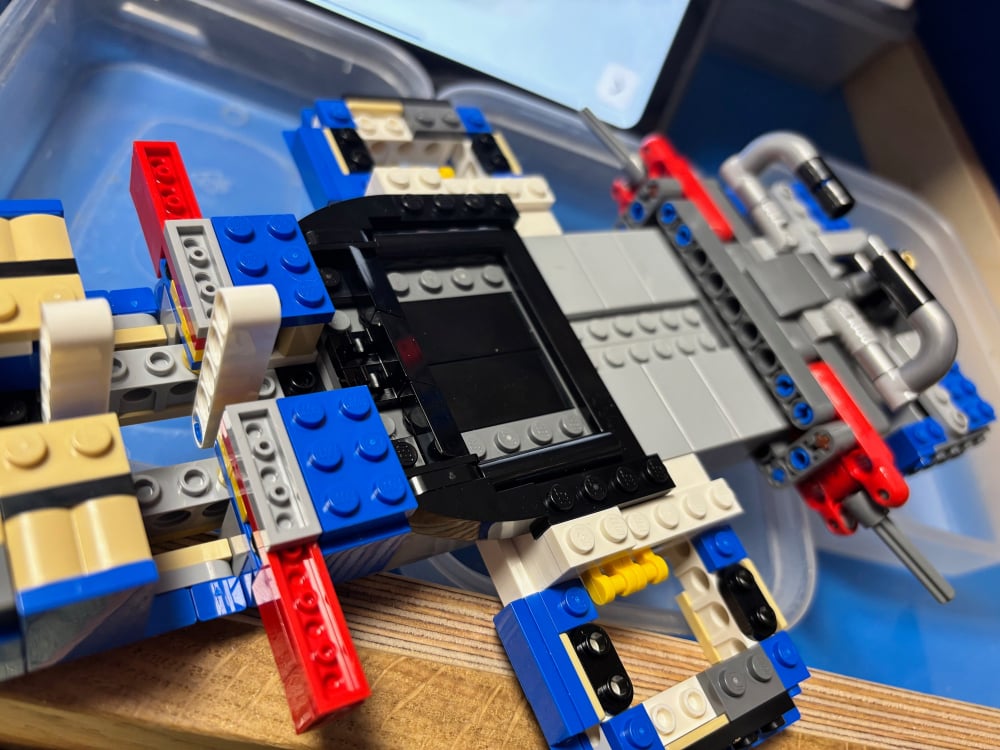
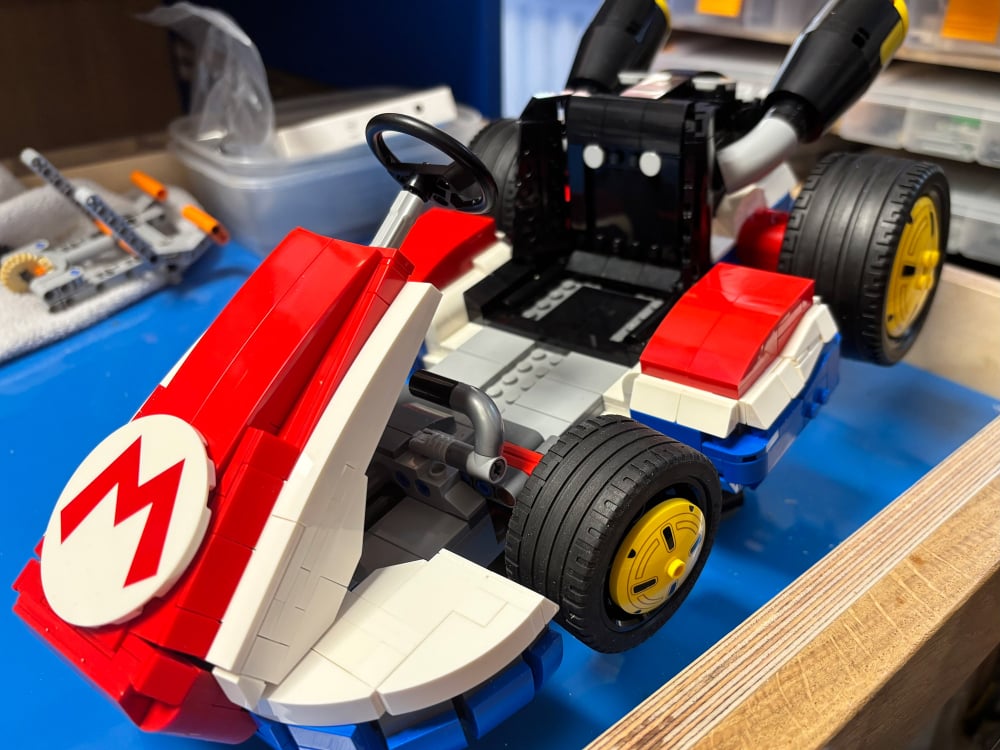
As I empty the paper bag (I’m sure the insides are lined with invisible Lego glue!) I can clearly see that this bag completes the Kart. I can see another Technic Frame, and the online instructions show that you need the wheels/tyres too. Immediately I’m drawn to the printed parts - all 4 wheel discs and the big ‘M’ for the front end! Now these prints I believe are worthwhile - we all know putting decals on domed/concave parts is a no no - but I remain confused by the exhaust ones.. Anyway, as I said, we now get to finish off the steering column sides, add the seat back & for the wheels/tyres. Once that is done, the super colourful kart is done - and we quickly move onto the display stand. This is actually quite a clever design that allows you to tilt it to an angle of your choice and it won’t fall off..
Total build time so far is just under 3hrs approx
Bags 10-17 (Mario)
Now for the part I’ve read so much about.. Mario himself.. I read somewhere that putting certain parts of Mario together wasn’t easy - (mainly the head itself) - and many people were making mistakes so let’s see…
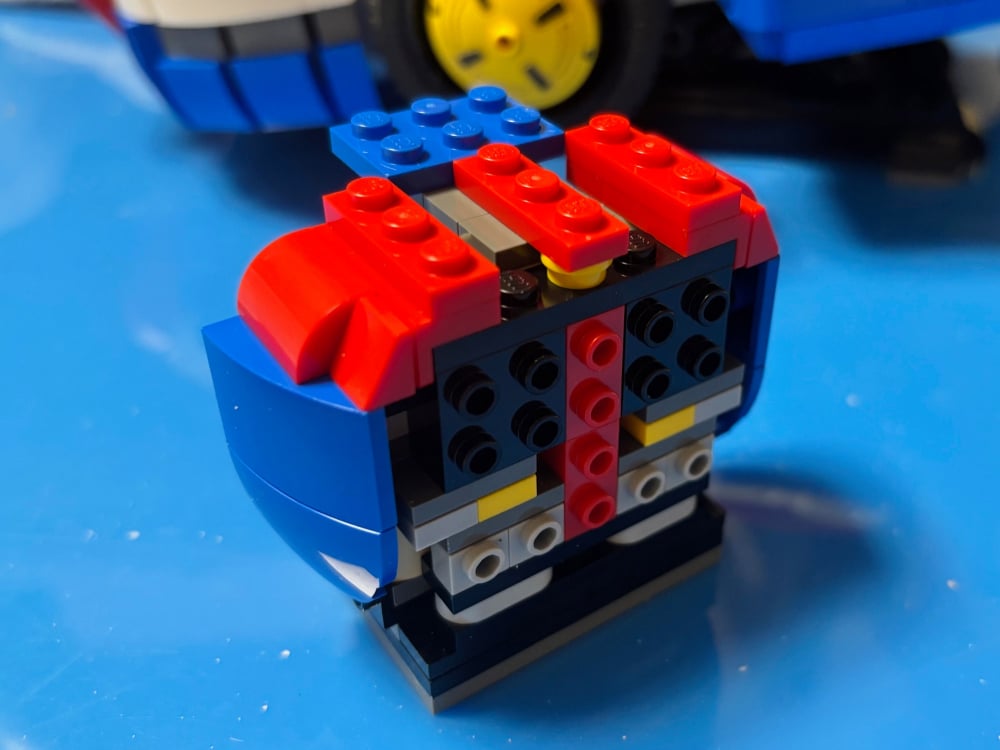
Picture below shows you the start of the torso. These ‘Odd number of studs’ builds are always interesting - this part is essentially 9 studs wide and so there will be lots of jumper tiles used and that ‘sometimes’ means less clutch power and therefore a weak model. That said, the torso seems ok, and as I move onto the Legs and arms, they seem ‘ok’ too although yet again, I’m stunned that we have printed bricks on Mario’s white gloves! We all love printed bricks over decals, and this set gives you plenty to keep everyone happy - but in doing so, shows up poor value in other sets that ‘should’ have some (or more) in…. Anyway, bags 10 through 14 are done in 40mins easily, and it’s onto the head...
Bags 15, 16 & the final 17 are Mario’s head, and his big red hat - I had no issues at all with the build, so not sure what hassles other people had but I will say, it’s a very complex build - not necessarily worthy of the 18+ suggestion, but quite intricate in places with a few of my pet hates.. one stud connections. There is also a fair few more printed parts! I’m amazed at how many are supplied for the £150 cost.
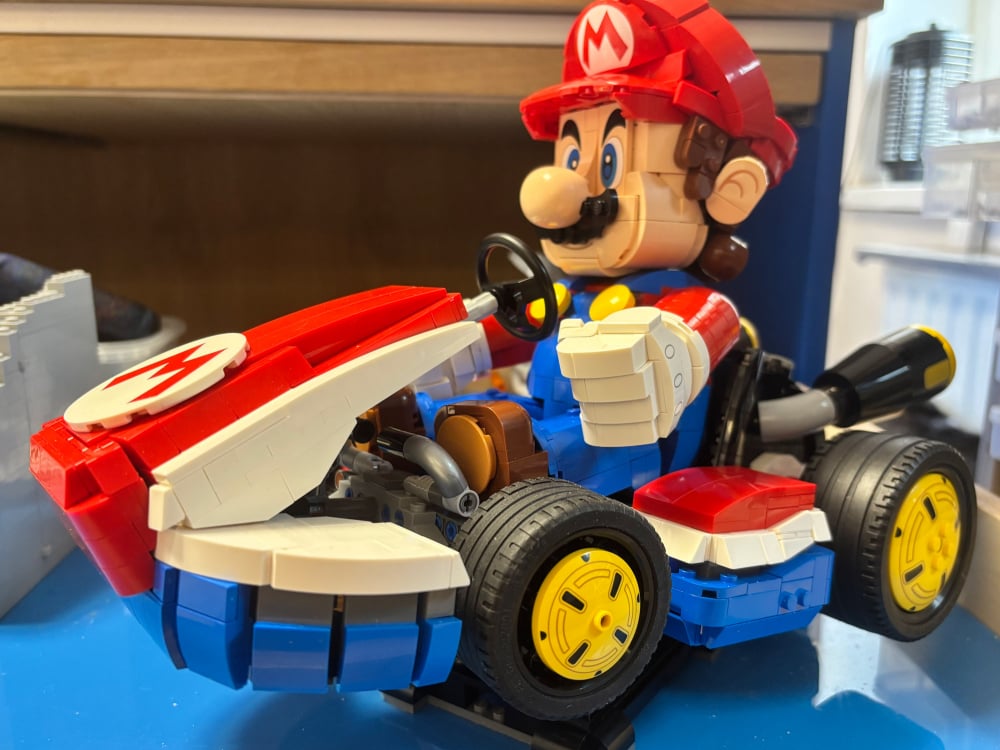
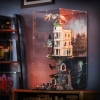
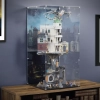
Once built, the head itself is not the strongest part of the build, but it’s not ‘overly’ fragile either - Overall, though, the whole model is certainly not a toy that can be swooshed along! It’s an out & out display piece - BUT… it does look REALLY good doesn’t it - bright, colourful and fun looking - even better inside a Boxxco case with background!
Thanks for reading, and keep an eye out for my next review
David
Pros
- Stunning to look at.
- Engaging build.
- Lots of printed parts.
Cons
- Online Instructions a little tedious.
- Mario’s head is quite fragile.