Firstly, let me start this review by making it clear to you all that I’m certainly no ‘professional writer’… neither am I a veteran at doing set reviews since this is my first! - However.. what I am, (and what the guys at Boxxco say it is that they want) is a Passionate Lego Builder, coupled with the desire to make sure that what I say, is a good, honest & true representation of the facts as I find them. You won’t find me saying ‘This is great’ - if it isn’t -The biggest ‘Box that must be ticked’ when they asked me to do some reviews for you all was that whilst I have no issue having poor grammar or spelling corrected before uploading to the site, - my words must remain unchanged.. not flowered up! - I wish to be accountable for my own thoughts to you all. You may not agree, and that’s fine - but at least I’m honest and you can make your judgement based on that fact. Some reviews I’ve read from the ‘pros’ feel to me like they are scared to be negative in case they don’t get sent any sets again…. No such concern here!
So… on with the Review…
TLG have gone F1 Mad for 2025, and I’ve no doubt that the licensing agreements cost a pretty penny - so they need to recoup that cost somehow - they’ve chosen to flood the market with multiple F1 sets in every type of set possible - from City, through Speed Champions, to Icons and right up to 1:8 Technic like we have here.. but are they any good?
Let’s find out -
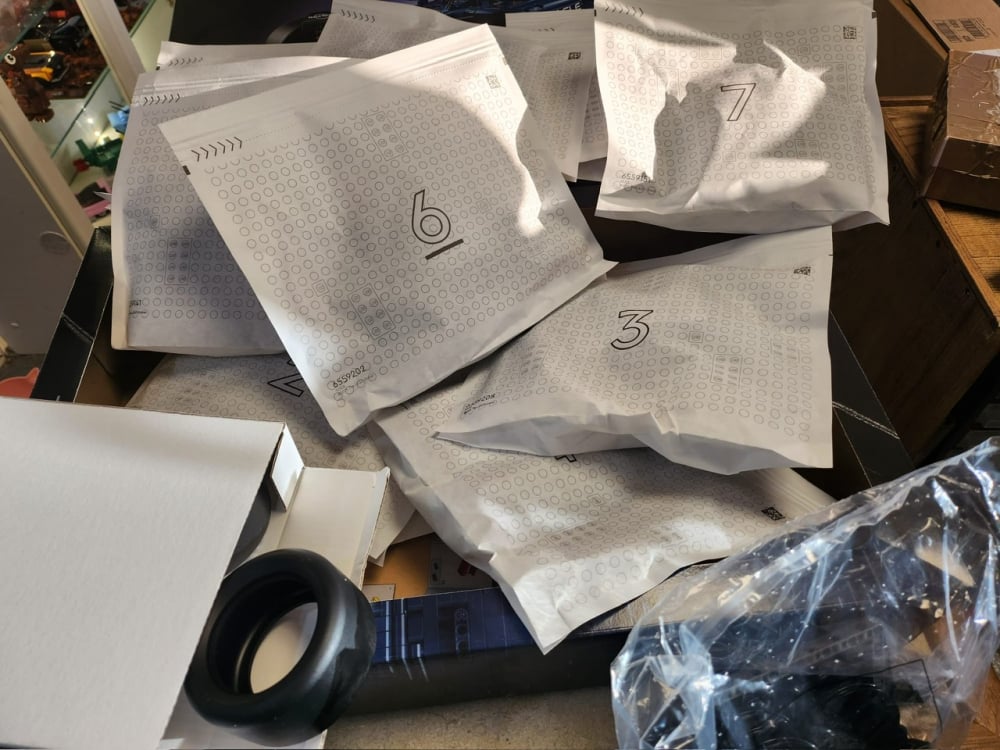
Lego set 42206 Oracle (Remember Teletext? Ceefax was BBC, & ITV was Oracle!). This Red Bull RB25 F1 Car… is a good-looking model when admiring the box - however gone are the classic days of true ‘Box Art’ like the boxes on Ewok Village & Joker Manor where you’d happily frame them, but it’s a nice representation of what you are about to build… Although the picture doesn’t really give you an accurate indication of scale - it’s actually bigger than the box would have you think.. Upon opening the box, I was presented with 10 of the new-fangled paper bags - 🤔 What are your thoughts on these? I mean, it was bound to happen someday wasn’t it - and now that it has, we will have no choice but to embrace it - but I must confess, I’m not a huge fan - I find that small parts seem to get stuck in the corners more than they did with plastic - not sure if that’s purely coincidental or not, due to the fact the plastic bags were clear and the new ones are not - who knows - all I will say is once you’ve emptied each bag out in turn, check the bag again. Then again, and again! (Thank me later).
The first half of the build (5 bags) is mainly focused on getting the structure of the car - the main chassis, flooring, engine, suspension, etc. Now I do not profess to be a Technic Lego expert, but I made a lot of it back in the Lime Green Sian era, and therefore because it’s been a while, here I was faced with many new parts that I haven’t seen before - being predominantly a ‘system’ builder, seeing the new parts become available is exciting for me (Sad isn’t it!) and I will assume, that some of you Technic Lovers will be looking forward to seeing some of these parts and figuring out how else they can be used in other situations.
The one that caught my eye first, was the all-new Cylinder Blocks for the engine (6608) - these are ‘similar’ to the old ones in size and shape but SO much smoother and streamlined in design.
There were also all-new Wishbones (5780) - again, a lot smoother and less cumbersome than the originals. (See pictures at the end of new elements)
Unfortunately, modern F1 Cars are only fitted with V6 Engines (A crime against the rights of Petrolheads like me globally) However, since there are now only 6 pistons, and not 10, assembly of the engine itself is a breeze - literally, a 5 min job even with the tiny components. However, those that have never assembled a technic engine before still might struggle a little as it does ideally need you to have 3 hands - but 2 will eventually suffice happily 😊 - By the end of bag 5, you’ve basically got a 1/2 built car - a ‘Naked F1’ if you like - it’s very satisfying and not overly time-consuming - It took rusty old me, around 3.5-4hrs which included making notes and taking a few snaps.
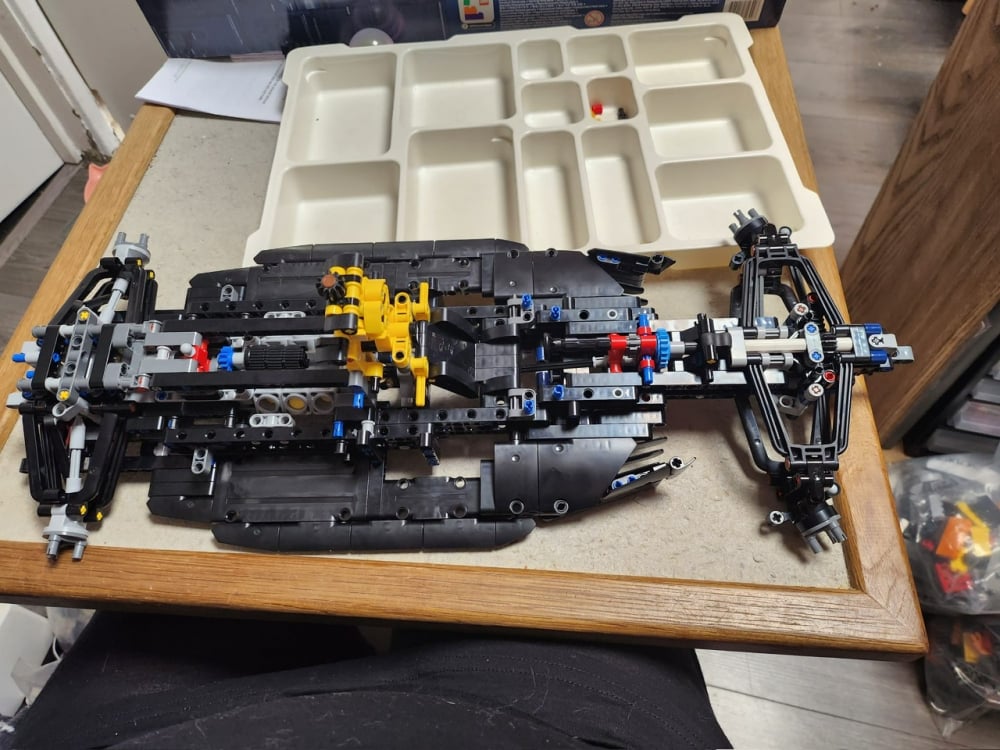
It is worthy of note that if, like me, you suffer a little from ‘FFS’ (Fat fingers syndrome 😂) then some of the suspension at both ends can be a little tricky in places due to needing to fit bushes & pins etc into dark corners and unseen ‘crannies’ - but a little patience gets you a long way. You also get to set up the steering (Step 122) - take note those of you with OCD… make sure you get it aligned correctly - if you don’t, that ever so slightly ‘off centre’ steering wheel when the wheels are pointing dead ahead will drive you insane (So a friend told me *ahem*) There is one strange thing that I noticed but don’t have an answer for… the Wishbones of the F&R suspension are fitted opposite to each other in terms of aesthetics - the front has the ‘smooth’ side facing inward, but the rear, has them facing outward, and the less attractive grooved side in? Most unusual and I had to check I hadn’t gone wrong! - answers on a postcard as to why that is… 🤷
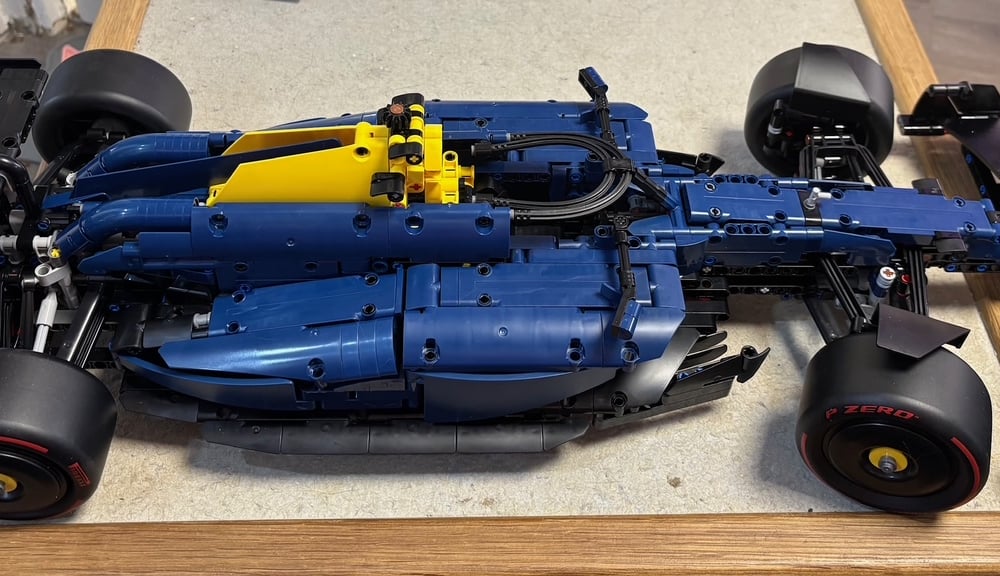
The 2nd half of the build, the last 5 bags, concentrate on the bodywork of the car - those front and rear wings along with the side pods and the cockpit with Halo, etc (Remember the Massa Incident pre-halo 😯)
Almost immediately into the 2nd half, we get to make the front wing - this is an incredibly detailed, (47pcs) complex part of the build which does require dexterity in spades - it’s not an overcomplicated design as such, it’s just a lot of angles, all converging with each other and so fitting some of the pin connectors is rather awkward & ‘finicky’ (I sent my fingers on an intense gym workout session for a day in preparation) Then entire front wing is then attached to the car with a single pin! Fear not... it’s then backed up with an axle for strength.
When you start on bag 7, the front end is ‘mostly’ done and you immediately move to the rear. The rear wing construction seems quite simple at first but again, has its tricky parts and as you progress, slowly but surely, the sides of the cockpit take shape. At the end of bag 8, you get the install the Halo above the drivers head using the flexi axles as per the previous F1 cars so nothing new there.
Bag 9 has you making the very realistic aero side pods - there are some wonderfully clever techniques used to get the angles required for the shape/fit of the panels to be so accurate - I really enjoyed seeing how these parts came together and they simply pin to the cockpit sides effortlessly (Helped along by the use of pins and axles as guides) you then flip the (now heavy) car upside down and secure them in place with small axles. After that, it’s the smaller pieces of trim like mirrors, etc and all that’s left after that is to make and make the very well-designed engine cover & fit the wheels/tyres.
It’s now that I get to mention, the only real negative about the set - Tyres… Whilst I appreciate that designing & manufacturing a brand new tyre for a model (Especially one that is essentially only of use on one ‘type’ of model being a slick) is expensive, I also believe that with Lego being the world's largest tyre manufacturer (True fact, - well ahead of Michelin, Pirelli & Goodyear, etc and absolutely light years ahead of the ‘Nankang ditch finders’ we all fitted in our youths when faced with needing a new tyre) that they COULD have made the effort to accurately represent the F1 Genre with wider tyres at the rear than at the front - it’s lazy and it looks wrong. As a passionate ‘MOC’ car builder myself, the lack of variety of tyres and rims from Lego themselves is a real bugbear of mine and most of my creations are now fitted with 3d printed rims as a result - come on Lego… you’ve gone all in on F1 for 2025 - I’ve no doubt the licence agreement has an option for more years after this initial one - start development of a better solution of wheels/tyres now. At this price point, we deserve it.
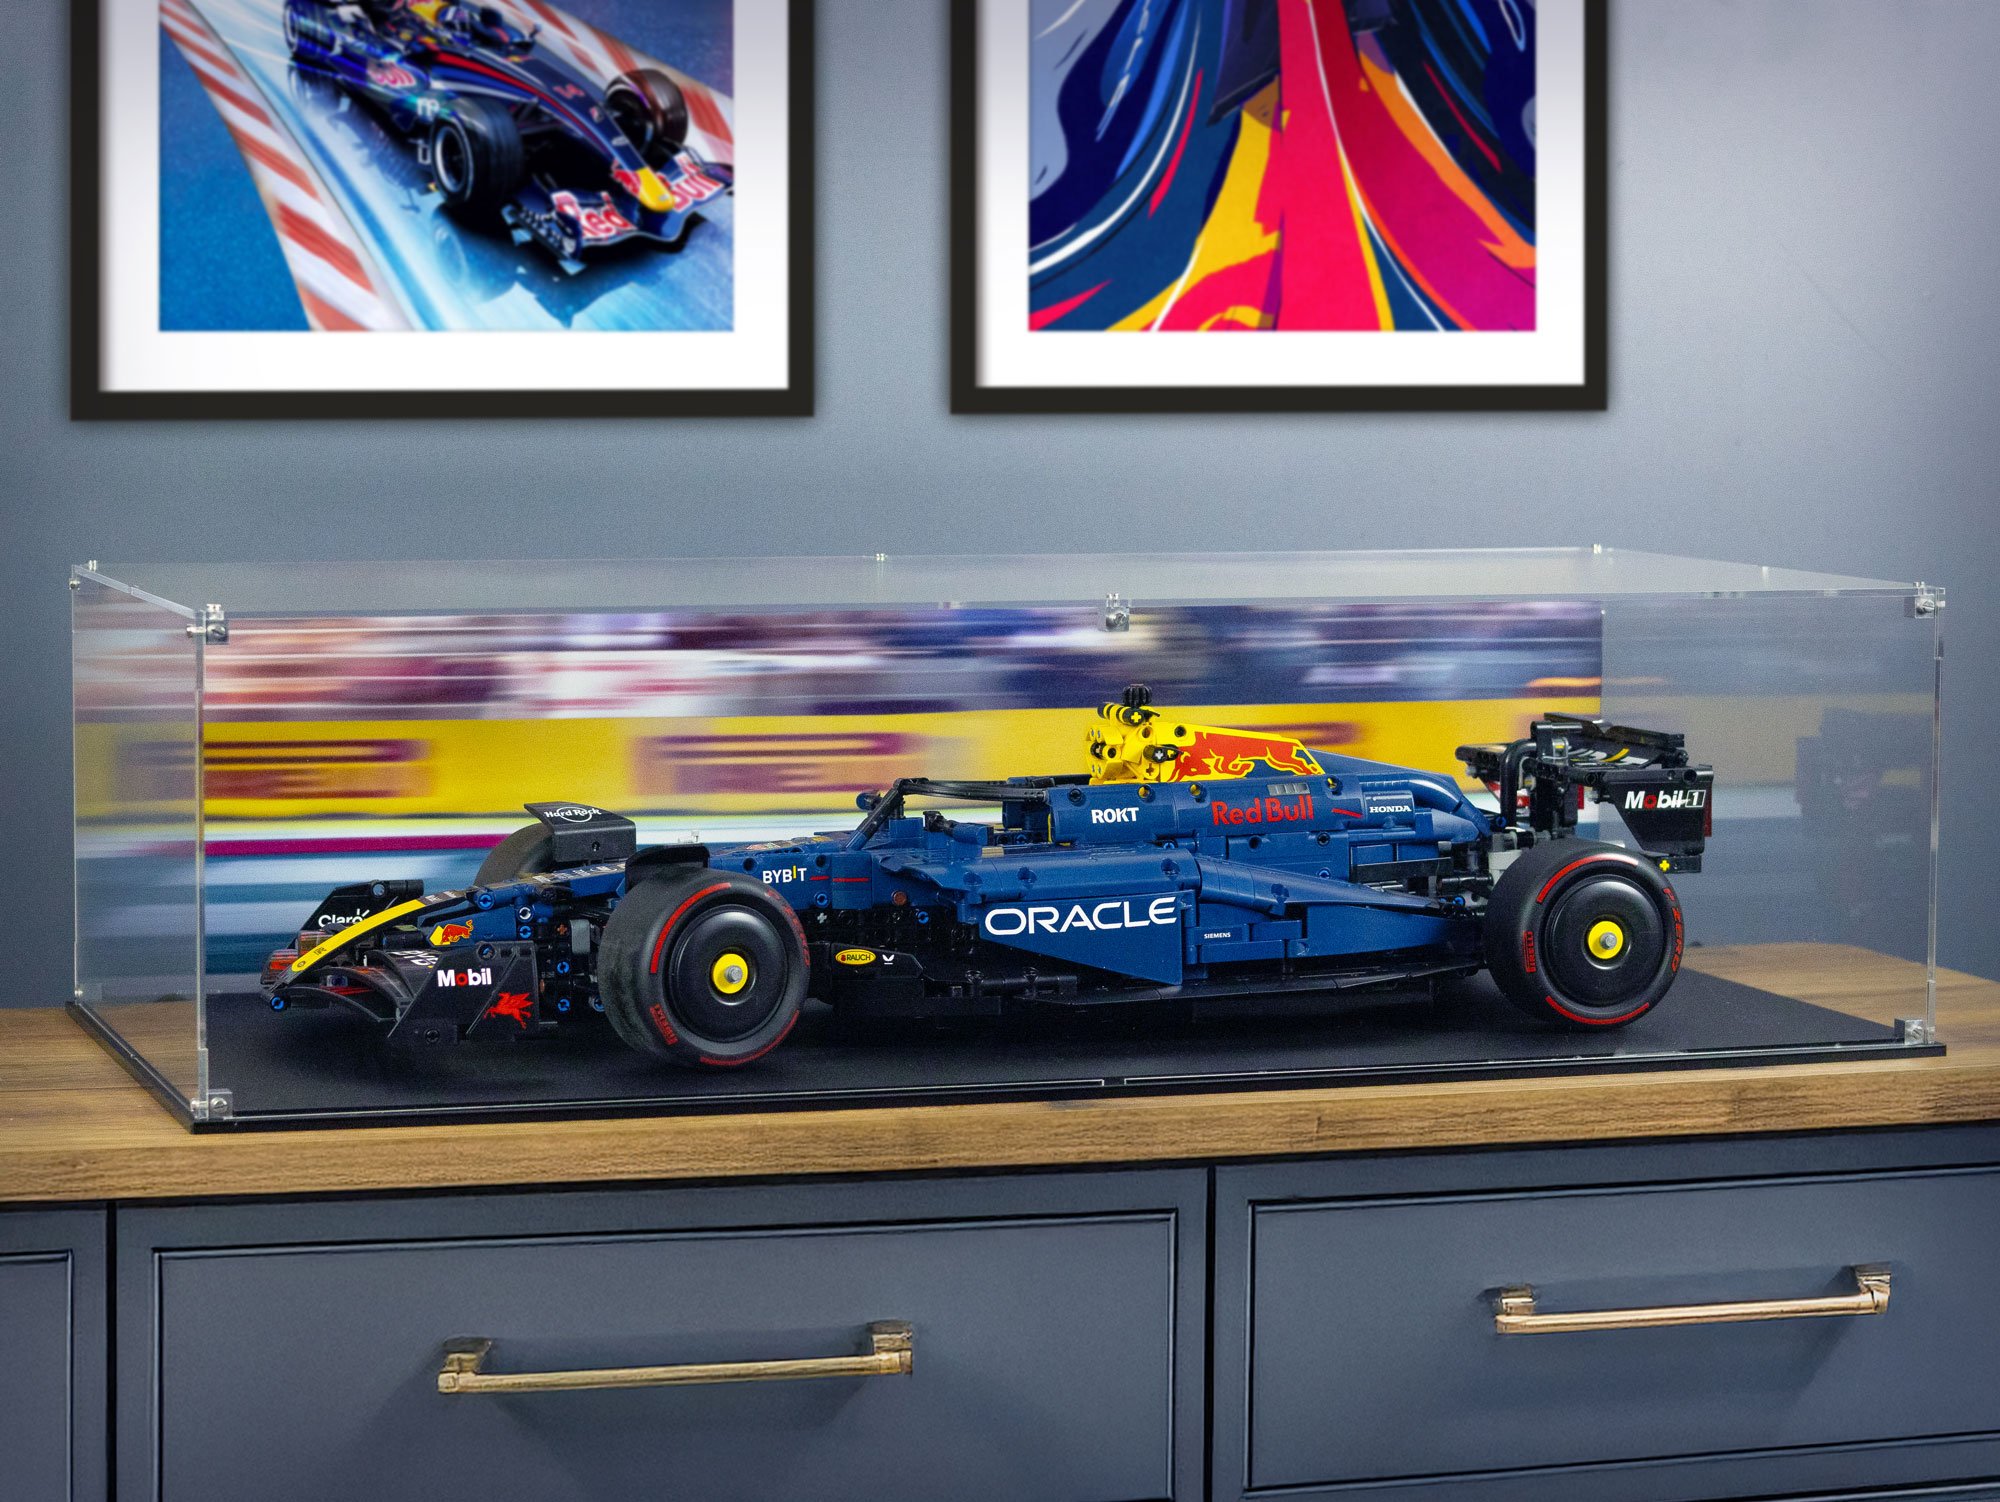
Once the wheels are fitted, we now have a completed car - and what a beast it is -
Here she is, all 630mm x 240mm of her!
Perhaps now, we should address the part that until now, I’ve not mentioned at all… the bane of every AFOL’s life….. the decals.. 😱 The set comes with 2 rather large sheets of decals that, if you follow the instructions to the letter, it has you fitting a decal every few steps… Now, quite rightly you’ll also be wondering why MY RB25 is sticker naked?…. Well, it’s time for me to ‘Fess up’ - I’m useless at fitting decals - this isn’t a major problem for me as with my eyesight, (I’ll not become a sniper anytime soon) I won’t notice - however you on the other hand may belong to the ‘wonky sticker police’ 👮 - and my already low opinion of my reviewing skills would take a serious battering if you all pointed out how bad they were fitted - so I chickened out - and I’ll fit them when you are not looking… 😂
Here’s what she ‘should’ look like with all the wonderful RB livery in place -
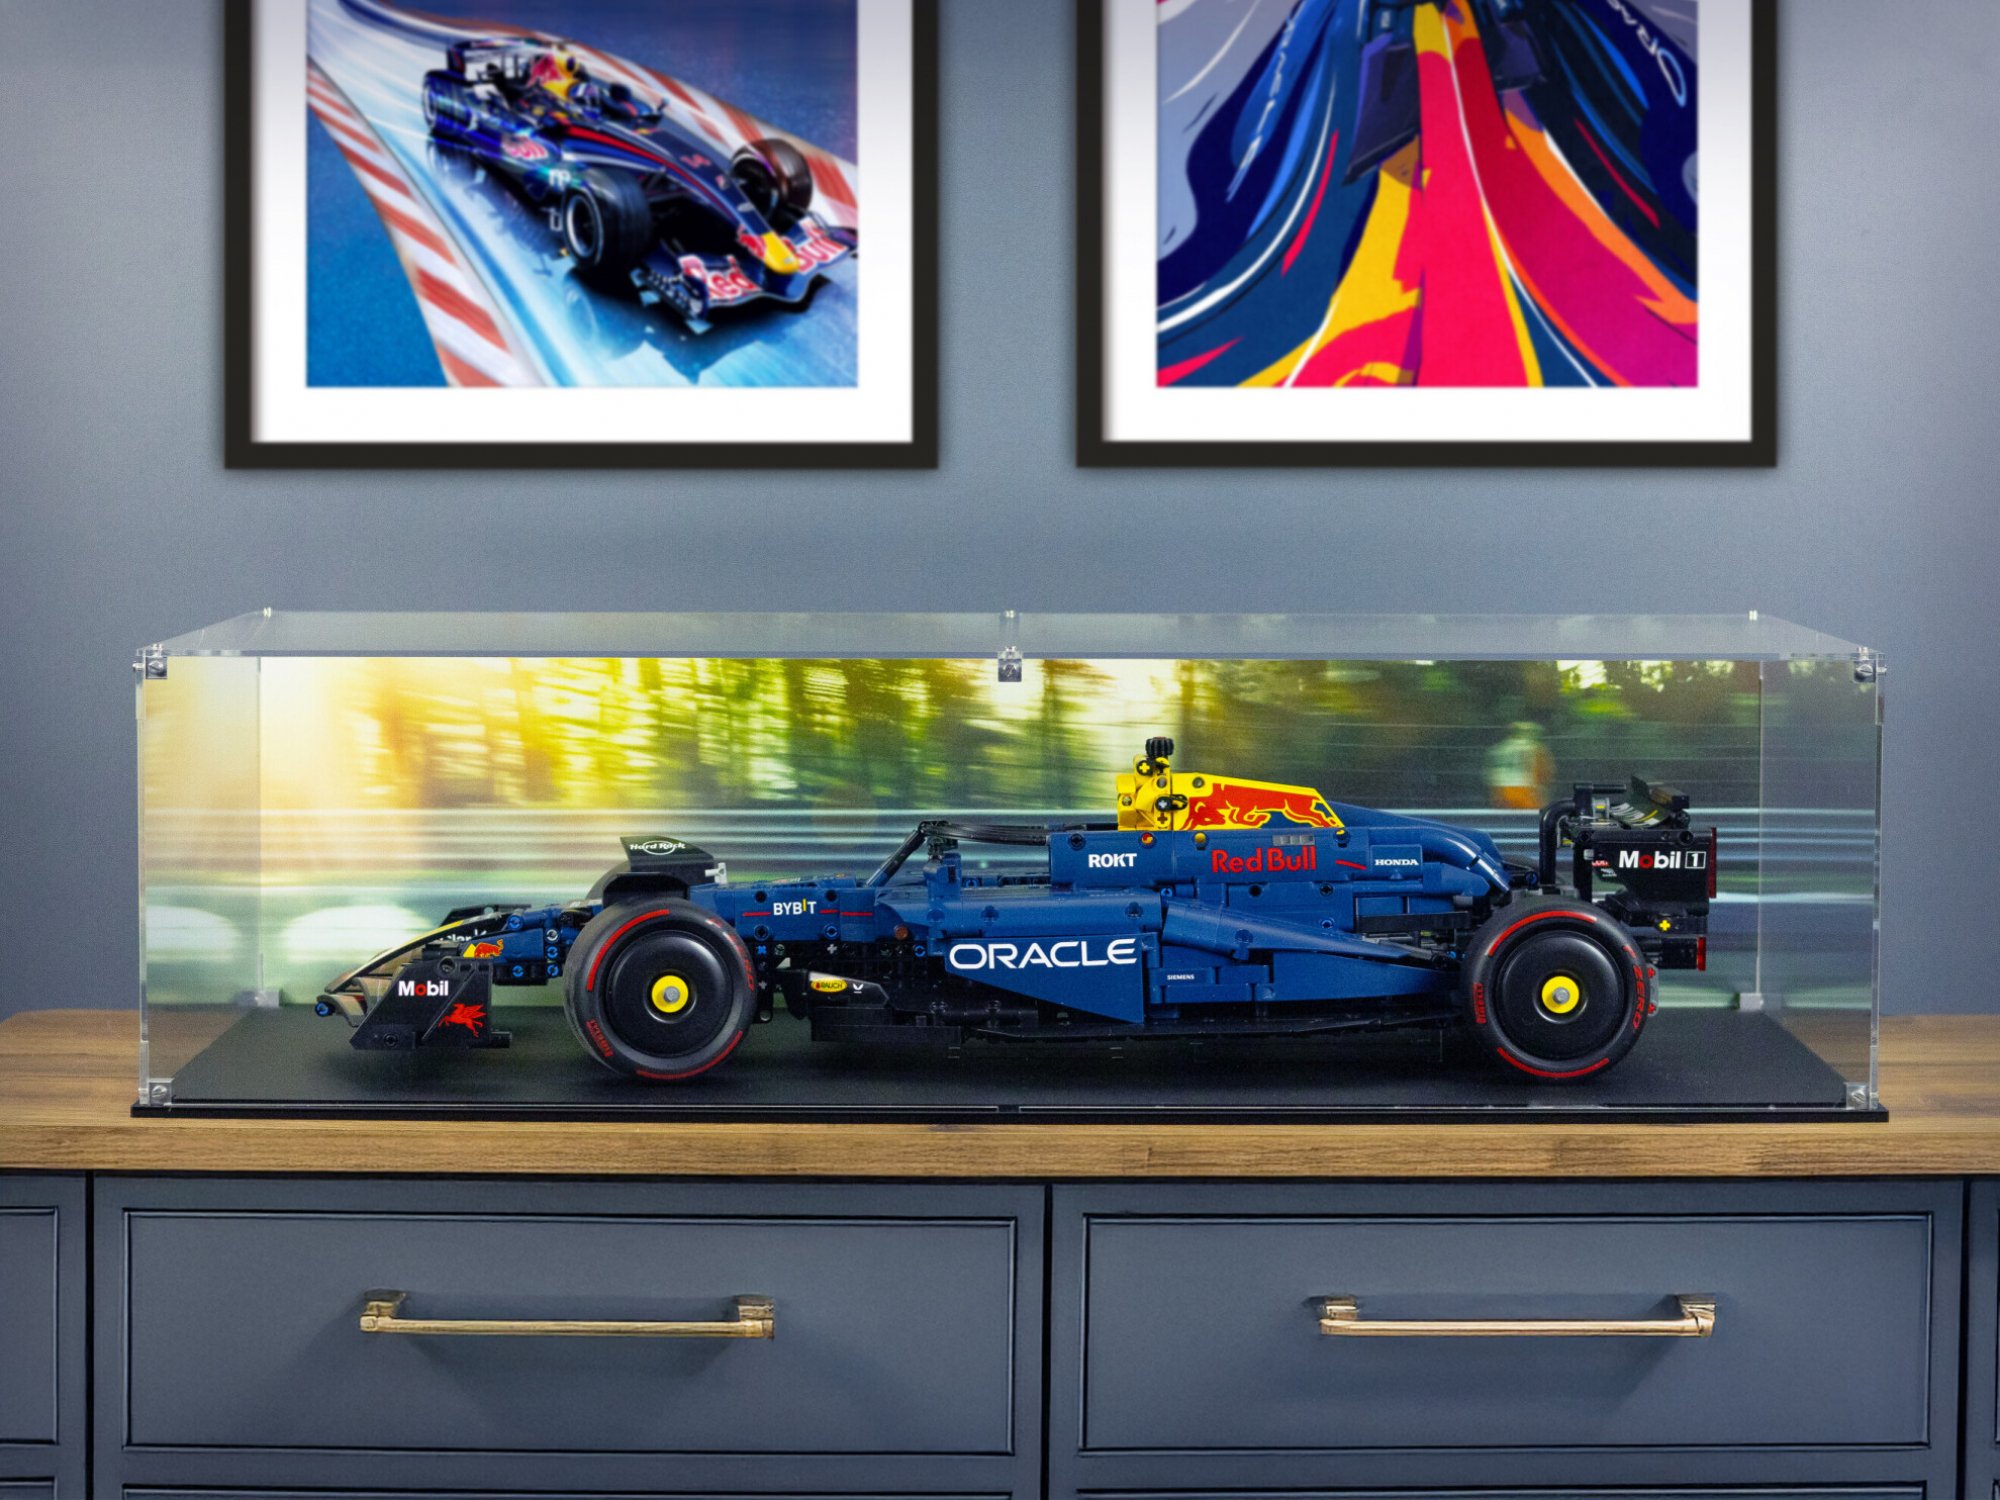
Isn’t she lovely - total build time for me was approx 8-9hrs - including notes, etc - a nice weekend project.
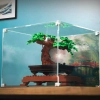
All in all, I’m actually very impressed with the overall look of the car - true F1 fans, will of course buy all the cars that have been released in all formats - but maybe you aren’t a huge fan, maybe, like me, you’re a more ‘casual observer’ and now you’re wondering if you go for the championship winning Red Bull you see here, OR… for the brightly coloured prancing horse Ferrari that will surely be the first choice of most people - just because it’s a Ferrari. Well, the Ferrari has 300ish less parts, and therefore less ‘technical?’ I don’t know, I didn’t build it - but what I will say is that if you go with this, you won’t be disappointed and wish you went with the other - it’s a satisfying and rewarding build - challenging in places, but not overly so, and the end result is as impressive as it is imposing - it’ll certainly look amazing in a Boxxco case that’s for sure 😉
So… here endeth my first ever Lego set review - I truly hope I haven’t bored you to tears, or put you off Lego for good - these are just MY ramblings. Please please feel free to let the boffins at Boxxco know if there are things you think I’ve missed or needed to include - or indeed if you think a lot of it is irrelevant and you’d rather just have marks out of 10! - remember, feedback is critical to succeed and it’s important to me that you all know that what I write is a true representation of the facts as I see them.. (Plus, secretly, I’m hoping they get me to review the new upcoming Mario Kart & Paddle Steamer 🤫 ) I can’t wait to see the Boxxco backdrop for the Kart case!
As I see it, every set Lego release has its ‘Pros & Cons’ - and this is no different.
Pros
- Rewarding build.
- Imposing end result.
- Lots of new elements giving new options for MOC designers.
Cons
- Price - quite expensive for the piece count.
- Tyres - those pesky tyres!
- Decals - to be expected but there are lots!
Thanks for reading folks
Brickon,
David Willoughby